Instruction Manual
SA0216 Illumination Base Instruction Manual-English.pdf
Quick Overview
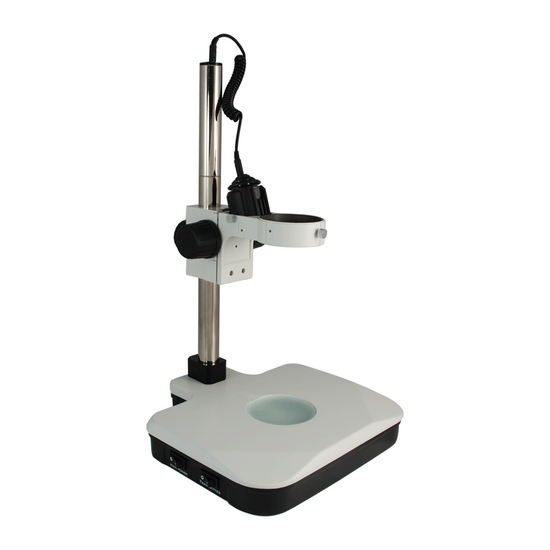
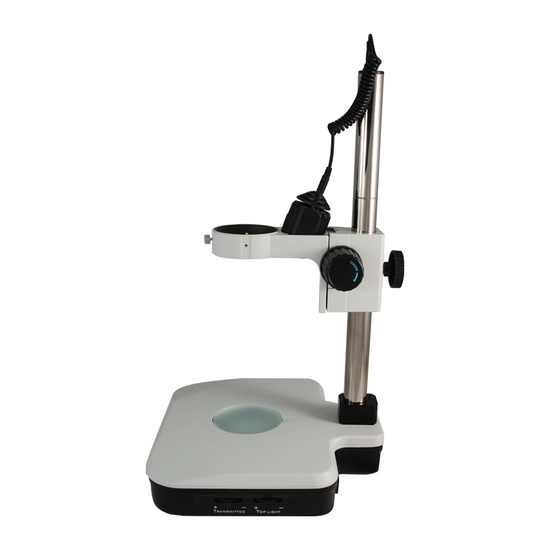
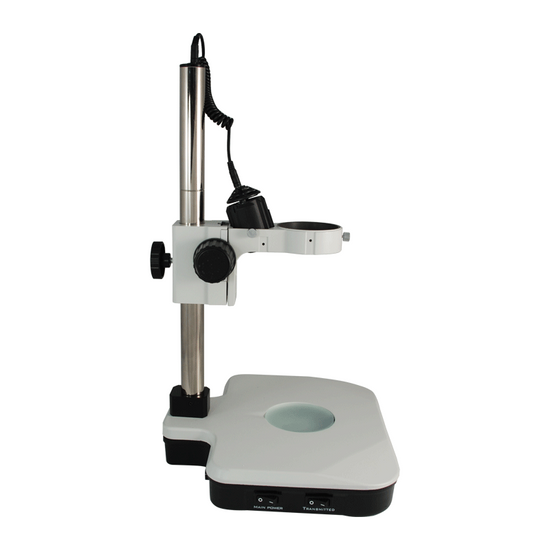
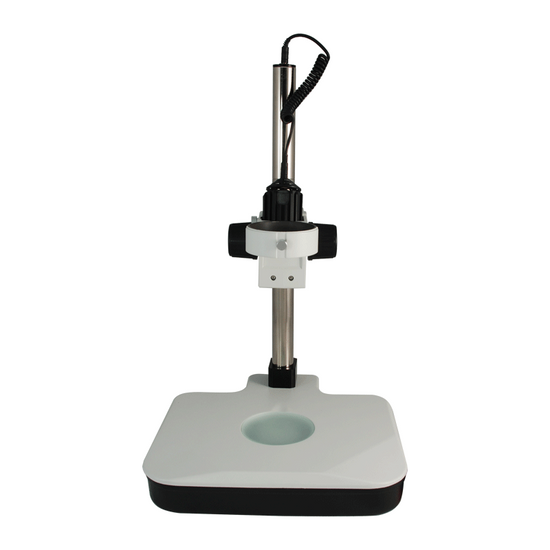
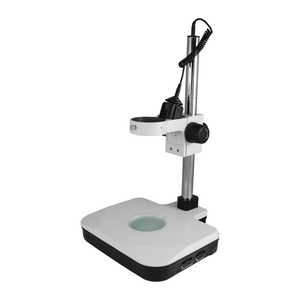
Post Stand. Dia. 85mm Scope Holder . Vertical Post Height: 305mm. Vertical Post Diameter: Dia. 32mm. Base Dimensions: 320x305x60mm. Focus Distance: 50mm . Black White Plate. Clear Glass Plate. Plate Size: Dia. 95x5mm. Illumination Type: HH Dual Illuminated Light. Top Illumination: Oblique Top Light. Output Power: 24W. Input Voltage: AC 90-265V 50/60Hz. Output Voltage: DC 12V. Power Cord Connector Type: USA 3 Pins.
ST02011224 85mm HH Dual Illuminated Post Stand
Post Stand
| Stand Type | Post Stand |
| Holder Adapter Type | Dia. 85mm Scope Holder |
| Vertical Post Height | 305mm |
| Vertical Post Diameter | Dia. 32mm |
| Base Type | Illumination Base |
| Base Shape | Rectangle |
| Base Mounting Size | M29x1.5-6h |
| Base Dimensions | 320x305x60mm |
| Focus Mode | Manual |
| Focus Distance | 50mm |
| Coarse Focus Distance per Rotation | 21mm |
| Focusing Knob Tightness Adjustable | Tightness Adjustable |
| Center Distance from Hole to Scope Holder | 155mm |
| Illumination Type | HH Dual Illuminated Light |
| Top Illumination | Oblique Top Light |
| Top Illumination Type | Halogen Light |
| Bottom Illumination Type | Halogen Light |
| Output Power | 24W |
| Input Voltage | AC 90-265V 50/60Hz |
| Output Voltage | DC 12V |
| Power Cord Connector Type | USA 3 Pins |
| Power Cable Length | 1.8m |
| Surface Treatment | Spray Paint |
| Material | Metal |
| Color | White |
| Net Weight | 5.85kg (12.90lbs) |
| Dimensions | 320x305x518mm (12.598x12.008x20.394 in. ) |
Microscope Plate
| 95x5mm Clear Glass Plate | |
| Plate Type | Clear Glass Plate |
| Plate Size | Dia. 95x5mm |
| Material | Clear Float Glass |
| Net Weight | 0.04kg (0.09lbs) |
| Applied Field | For ST0201, ST0501, ST1901, ST0801, ST0802 Series Post Stand. ST0203, ST0204 ST0403 Series Track Stand |
| 95x5mm Black White Plate | |
| Plate Type | Black White Plate |
| Plate Size | Dia. 95x5mm |
| Material | Plastic (ABS) |
| Color | Black, White |
| Applied Field | For ST0201, ST0501, ST1901, ST0801, ST0802 Series Post Stand. ST0203, ST0204 ST0403 Series Track Stand |
Iris Diagram
| Transmitted Illumination Iris | |
| Aperture Diaphragm | Fixed Aperture Diaphragm |
| Aperture Diaphragm Mounting Position | Vertical Illuminator |
| Aperture Diaphragm Outer Diameter | Dia. 91mm |
| Surface Treatment | Electroplating Black |
| Material | Metal |
| Color | Black |
| Applied Field | For SA0216 Series Illumination Base |
Technical Info
Instructions
Microscope StandClose Λ
| Microscope stand have many options depending on the needs, especially stereo microscope stand, there are several factors to consider before choosing: Stability: microscope stand is used to prop up the microscope body. The stand should be selected according to the size of the microscope mainframe. The stability of the stand determines the stability of the microscope in use, and its various adapters and screws must be tightly locked. Volume size: limited by the working environment and space of the workbench. Workspace and scope: the size of the workspace of the object being observed and the height of the object being observed should be considered. Choice of lighting: some stands are equipped with a light source, but some are not, depending on whether there are conditions to add additional lighting. Operational requirements: 1. Install the stand as required. 2. Arrange a reasonable fixed position for the stand. 3. Carefully tighten the microscope mainframe. 4. Arrange the location of the additional light source reasonably, and place the electric wire in a position that does not interfere with the work. 5. Connect the various kinds of peripheral devices, such as cameras, monitors, computers and so on. |
Post StandClose Λ
| Post stand generally has relatively tall post. When the focus is adjusted, the focusing mechanism can slide up and down the post, the microscope is thus placed in an approximately focused position, and then the focusing mechanism makes fine and accurate adjustment. This kind of stand can move quickly, and is suitable for viewing objects with a higher height and bigger volume. After the microscope is mounted, the microscope imaging center needs to be aligned with the center of the platen. The focusing mechanism button on the post must be tightened to lock the guard ring device, and the microscope should be prevented from loosening and shaking when working. When it is necessary to adjust the height, hold the microscope and the focusing mechanism with one hand, then release the knob, adjust it to the proper position, lock the knob, then top the guard ring to the lower position of the focusing mechanism, and lock it tight. In particular, avoid accidental dropping of the microscope due to gravity, thereby damaging the microscope and the objects below. |
Illumination BaseClose Λ
| Illumination base is a modular light source component, suitable for microscope stand base that has no light source of itself, and it is usually dedicated components supporting some stands. Illumination base typically includes at least one bottom lighting, and there are also illumination base that includes the circuit portion of the upper light source. |
Focusing Knob Tightness AdjustableClose Λ
| Different microscope bodies, different human operations, and different requirements for observation and operation, all require adjustment of the pre-tightening force of the stand that support microscope body. Facing the stand just right, use both hands to reverse the force to adjust the tightness. (face the knob of one side just right, clockwise is to tighten, counterclockwise is to loosen) In general, after long-time use, the knob will be loose, and adjustment is necessary. |
Microscope PlateClose Λ
| According to different objects to be observed, the appropriate platen should be selected. The microscope plate materials include black and white, black and white finish; transparent glass, frosted glass, metal, etc. Standard stands are generally configured with a suitable microscope plate, but different plates may need to be purchased separately. Black and white microscope plate are made of general plastics, and the different backgrounds in black and white make the object more prominent. Finish microscope plate eliminates reflections during observation. Transparent glass plate is used when observing transparent or translucent objects, and the use of transmitted light source is to make the light penetrate the object to be observed as much as possible. Finish glass plate, with its rough glass surface, can make the transmitted light more uniform and create a diffusing effect, avoiding exposure of the light shadow of the filament directly onto to the observed object. Metal plate, relatively more solid, is more suitable when it is necessary to operate and cut. Microscope plate is generally round shaped, on one side of the base there is a spring clip. When installing, align the plate with the clamp and push it in, and then press down the other end, so that the plate is smoothly embedded in to the circular card slot of the bottom plate. When removing, grab the other end of the clip, push and lift up the plate. |
Aperture DiaphragmClose Λ
| The diaphragm that determines the image plane necessary for imaging through the objective lens is called the aperture diaphragm. All irises of the traditional microscope are aperture diaphragm. The function of aperture diaphragm is mainly to limit the size of the imaging beam, change the luminous flux, thereby improving the imaging quality. The size of the aperture diaphragm is usually variable, and it is also called iris diaphragm. When the aperture diaphragm lock is too small and the luminous flux of the imaging beam is insufficient, the fraction ratio of the objective lens is low, the imaging will become dark; however, when the aperture diaphragm is too large, there will be strong light in the field of view, and even though viewed from the eyepiece, it may have high resolution, the image on the display will be overexposed. After replacing the objective lens, the aperture diaphragm should also be adjusted appropriately, rather than adjusting the brightness of the light. The aperture diaphragm of the transmitted light is generally mounted on the microscope base. The aperture diaphragm of the biological microscope is mounted on the condenser device. On the other hand, the aperture diaphragm of compound microscopes, such as large upright metallurgical or fluorescence microscopes, is generally mounted on the in the coaxial reflection illuminator. In the use of the aperture diaphragm, it is often necessary to adjust the center of the diaphragm. Generally, it is adjusted together with the condenser. Please refer to the adjustment method of the condenser. |
PackagingClose Λ
| After unpacking, carefully inspect the various random accessories and parts in the package to avoid omissions. In order to save space and ensure safety of components, some components will be placed outside the inner packaging box, so be careful of their inspection. For special packaging, it is generally after opening the box, all packaging boxes, protective foam, plastic bags should be kept for a period of time. If there is a problem during the return period, you can return or exchange the original. After the return period (usually 10-30 days, according to the manufacturer’s Instruction of Terms of Service), these packaging boxes may be disposed of if there is no problem. |
| Contains | |||||||||||||
| Parts Including |
|
| Packing | |
| Packaging Type | Carton Packaging |
| Packaging Material | Corrugated Carton |
| Packaging Dimensions(1) | 40x38x43cm (15.748x14.961x16.929″) |
| Inner Packing Material | Plastic Bag |
| Ancillary Packaging Materials | Expanded Polystyrene |
| Gross Weight | 7.62kg (16.80lbs) |
| Minimum Packaging Quantity | 1pc |
| Transportation Carton | Carton Packaging |
| Transportation Carton Material | Corrugated Carton |
| Transportation Carton Dimensions(1) | 40x38x43cm (15.748x14.961x16.929″) |
| Total Gross Weight of Transportation(kilogram) | 7.62 |
| Total Gross Weight of Transportation(pound) | 16.80 |


